Preparation of the Pony
Rehairing the tail on a pony is probably the easiest part of making an MLP custom. The methods of rehairing a tail are simple and the process is extremely quick and stress free. Many customizers use varying ways of rehairing, but for this tutorial I am going to focus on the ‘twist tie’ method.
Supplies For Rehairing:

- Pony Body
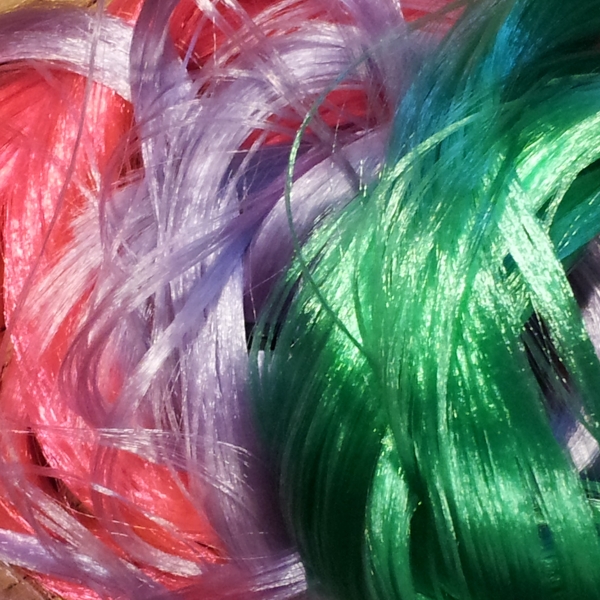
- Hair – saran, nylon or polypropylene
- Twist Ties
- Dental Floss or Wire
- Sharp Knife
- Thick Glove
- Comb
- Shampoo & Conditioner (preferably a 2-in-1)
You will need a pony body, hair (either saran, nylon or polypropylene), twist ties (these can be found at hardware stores or garden centres and come in varying colors/thickness), dental floss (not the plastic tape kind) or wire, a small, sharp knife, scissors, a thick glove, comb and shampoo & conditioner.
Choosing and Prepping Hair:
First of all, decide how much hair you want to use. This is completely up to your personal taste and can be as thick as you like. It is best not to use a small amount of hair, since your pony may look a little ‘bald’ if it doesn’t have enough tail hair.
Saran hair comes from the packet in a loop and needs to be cut. Cut between the ties. One skein tends to be ideal for a tail.

Nylon and polypropylene comes from the packet ready cut and secured in the middle with a tie. However, this is far too long for a pony tail and needs cutting equally in half to create the perfect length needed to rehair a pony.

Once you have chosen your hair type and color(s), take a long piece of dental floss/wire (I’ll be using floss in this instance) and fold it in half. Put your hair in between the strands of floss so that there is an equal amount of hair on each side. Tie the floss enough to ensure that the hair is secure, leaving a long amount of floss left over.

The Rehair
Take your pony and examine the tail hole. Is it too small? If it is, this is where your small, sharp knife comes in. The tip needs to be big enough to fit into the hole so that you can twist the knife around carefully. Doing this will slowly widen the hole and wear away the plastic. (Some people use an electric screw driver to make an immediate large hole, but this can sometimes damage the pony plastic. Only use a screwdriver if you are completely adept at using it.)
Once your hole is big enough, take your floss secured tail. Put the long threads of left over floss through the tail hole until the floss comes out through the neck. Now, you have to pull!
Note – Because pony plastic can be quite hard, I sometimes find it necessary to wear a suede glove so that when I’m pulling the hair through the tail hole, the floss doesn’t dig into my hand. I also find I can get a better grip on the floss this way. So, if the pony plastic is a little tough and your tail just won’t budge, wear a glove!

Now that your tail is through, you need to secure the top. Trim back that extra floss. Take one twist tie. You need to wrap this around the top, making a loop in the hair. Now you need to secure your twist ties around and through the loop and the first twist tie. You will need three or four twist ties altogether. These twist ties are your equivalent of the ‘washer’ found on a typical My Little Pony’s tail.

Once your ‘washer’ is big enough, you can then pull the tail back through the hole. Take the hair in your hand and hold it firmly as you pull to ensure all the hair comes back through. Keep pulling until you feel resistance. The resistance means that your custom ‘washer’ is doing it’s job.

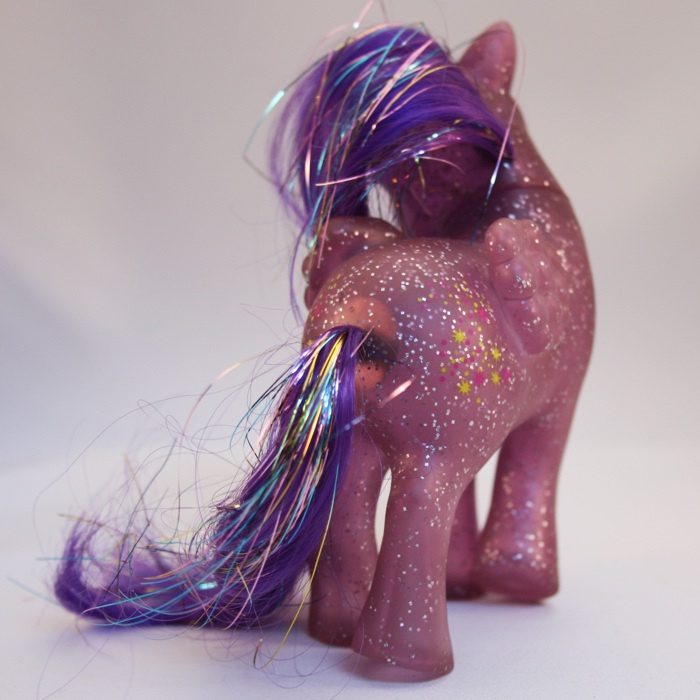
Aftercare
Your pony now has a lovely new tail. But having new hair is one thing. Having soft and shiny new hair is something else entirely! Get your comb and brush out any knots in the hair and consider how the hair feels. Saran tends to have a ‘waxy’ feel to it and nylon and especially polypropylene often feel a little dry.
In order to achieve that soft and shiny feel to your pony’s tail, it will need a wash. Using a 2-in-1 shampoo and conditioner is ideal, since using conditioner separately can sometimes make the hair a little greasy – the 2-in-1 seems to have the perfect mixture. You only need to wash the hair once. Rinse thoroughly, give the hair another comb and leave to dry. After an hour and another comb, your pony’s tail will feel (and smell) gorgeous!

All finished! Now for the mane.
About the Author: Elwythili has been customizing since 2008 and specializes in elegant designs, inspired by nature and the romance of eras past. You can visit her website to see more of her work, which she also offers for sale. Don’t forget to sign her Guestbook!
Website: www.elwythilicustoms.webs.com