Preparation
You have to be patient to rehair the mane on a pony. It can be long, arduous and a little boring, but with practice the process becomes quicker. When you first start off, rehairing a mane can take up to four days (with a few breaks, of course). But once you have rehaired a few times and you begin to instinctively ‘know the motions’, it can sometimes be done in one day (that includes making all the plugs and the actual rehair). I recommend sitting in a comfortable chair either listening to relaxing/motivating music or having a TV program on that you don’t need to devote your whole attention to such as Friends for background noise. The time passes a lot quicker this way.
Many customizers use varying ways of rehairing, but for this tutorial I am going to focus on the ‘dental floss’ method.
Supplies For Rehairing:
-
- Pony Head
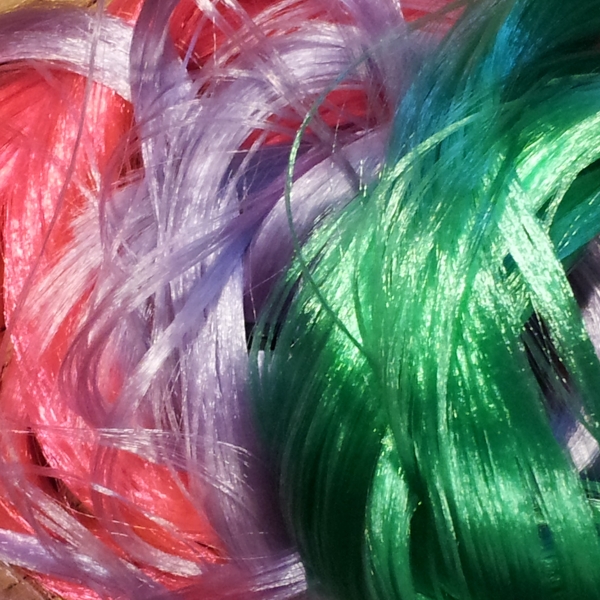
- Hair – saran, nylon or polypropylene
- Dental Floss or Wire
- Long Needle
- Thick Glove
- Scissors
- Comb
- Shampoo & Conditioner (preferably a 2-in-1)

You will need a pony head, hair (either saran, nylon or polypropylene), dental floss (not the plastic tape kind), a long needle, a thick glove, scissors (not pictured), comb and shampoo & conditioner.
Choose and Prep Hair:
As with the tail, you need to have the right length of hair for the mane. It is up to you how you style the hair afterwards and how you cut it but generally, the mane hair needs to be long in order to rehair successfully.
Saran hair comes from the packet in a loop and needs to be cut. Cut between the ties. One skein tends to be ideal for a tail.

Nylon and polypropylene come from the packet ready cut and secured in the middle with a tie. However, this is far too long for a pony mane (unless you want it especially long) and needs cutting equally in half to create the perfect length needed to rehair a pony.

Once you have chosen your hair type and color(s), you need to make ‘plugs’. Plugs are the sections of hair used to put through each individual hole. There are typically about 100 individual holes in a pony head. However, the dental floss method gives us the perfect opportunity to cheat.
Take a few strands of hair. A plug mustn’t be too thick else it will split the hole you are pulling through. Also, as the hair gets stuck in the hole, the strands will often snap, leaving you with straggly strands. A plug mustn’t be too thin either or it will easily fall back out of the head. Using thin plugs will also result in a bald looking pony. The below picture is generally the right size of plug you need. You can go a little above and below this thickness depending on the hole size, but do not exceed either way.
With your strands of hair, make a knot in the middle. Make another knot on top of the first one and make sure that the strands are secure. Voilà! A hair plug. You will need approximately 50 of these in total, half of the amount of the individual holes.

The beauty of the dental floss method is that with one plug, you can fill two holes on the pony’s head. This is why you only need 50 plugs. Basically, count how many holes are on just one side of the pony’s head. That number will be how many plugs you need. (Remember to keep a few extras, just in case!)
The Rehair
Take two long strands of dental floss. Loop each floss strand in the middle and thread that loop through the needle.

Insert the needle into one of the holes in the pony’s head. (It tends to be easier if you start from the bottom and work up but for the sake of this tutorial, I am working the opposite way.) Pull the needle through until the needle eye has passed through the plastic and you are able to remove the needle from the floss. You should be left with a loop of floss poking through the neck, and enough floss still poking from the top.

Repeat with the other floss loop, putting it through a hole directly opposite the original hole. Do not put the needle through the existing loop! Otherwise you will have to remove the floss and start all over again. Make sure the loops are equal sizes, then take your plug. Carefully put one strand through each loop, leaving the knot in between the two floss loops.

This is where things get a little tricky. You must pull the dental floss back through the head using those floss ends poking from the top. Do this carefully and make sure that the plug knot stays in the middle of the floss loops. Pull until the plug is pressing against the inside of the pony head. (Since the pony plastic is dark, I can’t show you this but the below photo is an example of what the plug should look like – just imagine it further inside the head!)

Now pull the plug strands through the holes one at a time. (As with the tail, you might need to use the glove again if the plastic is especially tough.) Again, do this carefully. If you do not try to ease the plug through the hole, you may end up with a few snapped strands of hair. If you have any resistance, double check that the floss loops are in the right place. If they aren’t, you’ll have to start all over again with that plug. If the loops seem to be in the correct position, then you can use the needle to widen the hole a little (just insert it and wiggle it around a bit).

As I have mentioned previously, this method requires patience. But when you get used to the rhythm of it, you begin to instinctively know when the loops are in the correct place and you can get those plugs threaded extremely quickly. Just keep going…

And going…

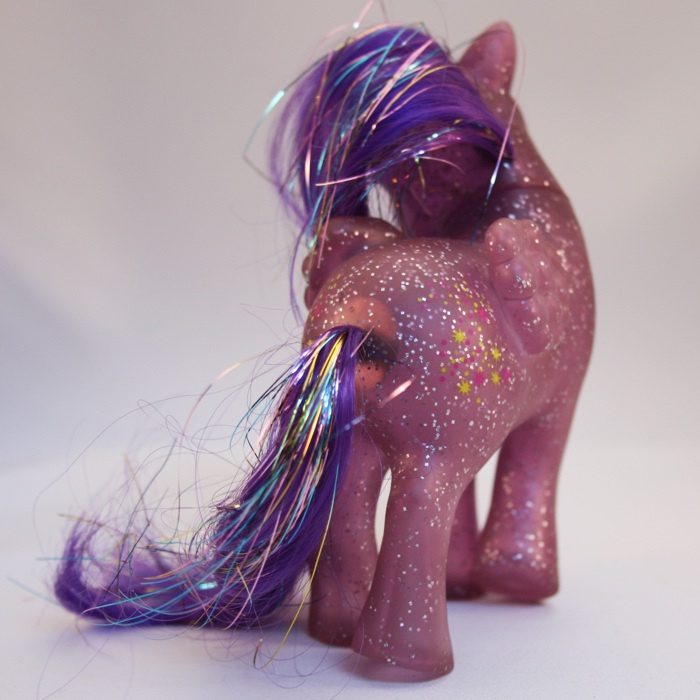
And you will get there in the end!
Aftercare
Your pony now has a beautiful new mane… kind of. It looks a little straggly, doesn’t it? Get your comb and brush out any knots in the hair and consider how the hair feels. Saran tends to have a ‘waxy’ feel to it and nylon and especially polypropylene often feel a little dry.
In order to achieve that soft and shiny feel to your pony’s mane, it will need a wash. Using a 2-in-1 shampoo and conditioner is ideal, since using conditioner separately can sometimes make the hair a little greasy – the 2-in-1 seems to have the perfect mixture. You only need to wash the hair once. Rinse thoroughly, give the hair another comb and leave to dry. After an hour and another comb, your pony’s mane will feel (and smell) gorgeous!

Now you can either cut and/or style the hair, or leave it as it is!
In case you need it, here’s the tail rehairing tutorial.
About the Author: Elwythili has been customizing since 2008 and specializes in elegant designs, inspired by nature and the romance of eras past. You can visit her website to see more of her work, which she also offers for sale. Don’t forget to sign her Guestbook!
Website: www.elwythilicustoms.webs.com