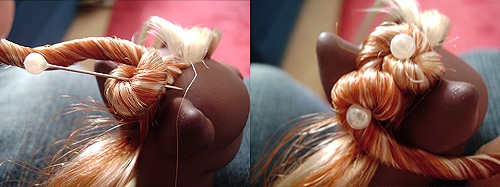
Preparation
A custom pony can often look very ‘polished’ if their hair has been styled, and a styled pony is often what a custom collector looks for in a custom. If you decide to style your pony’s hair then always consider the overall look of your pony – does it have an elegant design or a more modern one? Either way, make sure you have a look at inspirational images of hairstyles and sketch out a style that will suit your pony.
This tutorial will cover two types of hair styles that can be achieved using dress maker pins. Any kind will do – crystal, matt, pearlised/round, heart, flower – the effect is just the same.
Supplies for Hair Styling Ponies:
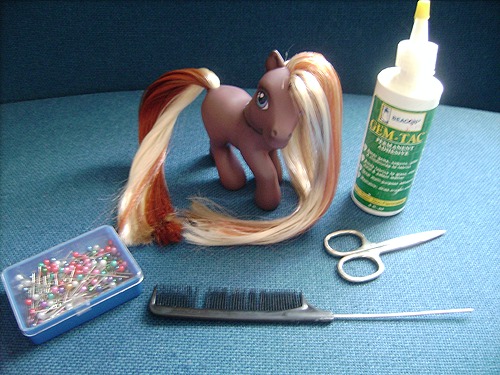
You will need a rehaired pony, dress maker pins, scissors, clear drying glue and a comb.
Twisted Hair Style
This hairstyle is often seen on ponies and there are many who cannot even fathom how it is done! It is really, very simple.
First of all, separate the hair into sections using the comb. The smaller the section, the tinier the twist and vice versa. (It is best to hold the pony between your knees, since you need to keep the hair tight and the only way to do that is to keep the pony secure.) Take your section and holding it taut, begin to twist it.
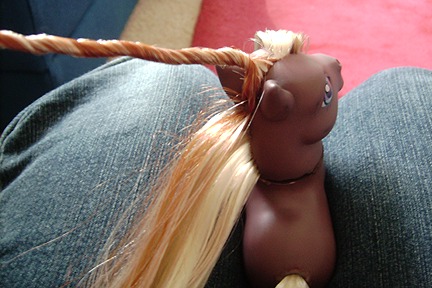
As you twist the hair, it will begin to fall back onto itself and towards the head of the pony. To make sure it does this the hair has to be kept tight! When the first section of the hair twists into a curl, take one of your pins and insert the needle into the middle of the curl. Still keeping it tight with the other hand, put the end of the pin into the pony’s head. Press down firmly and make sure the pin is fully secure in the head.
Don’t let go after this! You need to keep twisting and pinning until the whole strand has been secured onto the pony head. You will be left with tufts of hair where the strand finishes. There is no need to worry about this right now – just carry on twisting/curling/pinning and if you can, try to disguise these tufts with your twists.
Continue until you are satisfied. Then, using your scissors, cut away the remaining tufts. You can also dab a little clear drying glue on any stray ends that can’t be cut just to secure them in place.
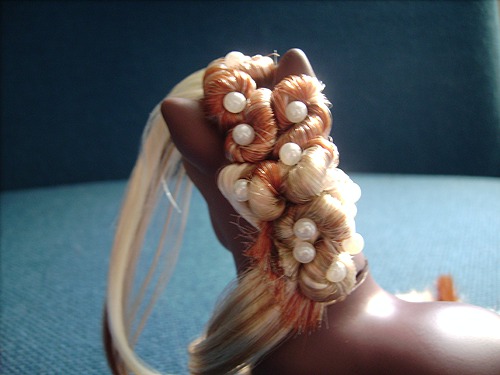
Note – Sometimes it isn’t possible to remove all the tufts, so you can add little embellishments to the hair to cover up any gaps/areas you do not like.
Bun Hair Style
This style is very simple and very easy to do. Various customisers make variants of this style and some even sew the bun into place, but I’ll stick to explaining how to secure the bun with pins only.
Comb the hair and make sure it is smooth, with no pulls or stray strands. Taking the desired amount of hair (you can either put all of the hair into a bun, or just use the top half) into your hand and holding the hair taught (again, keep the pony secured between your knees for this), begin to twist the hair tightly.
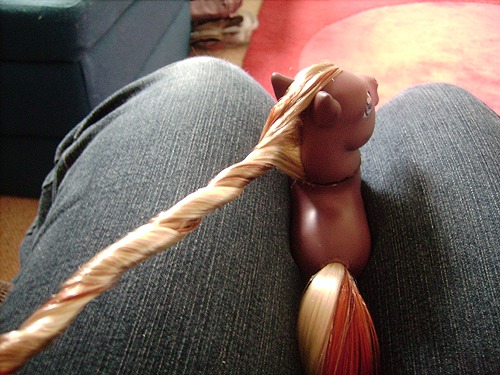
The hair will begin to fall back onto itself. Twist the hair into one single bun, wrapping it around itself as much as it will go.
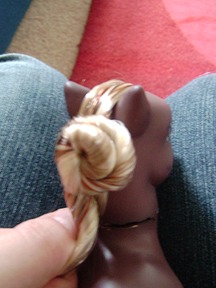
Using a dress maker pin, secure the bun through the middle. Then, while keeping hold of the hair tightly, put one pin in the outer area of hair, above the middle pin. Do the same with three more pins – one to the right, left and below the middle pin. Those five pins should be enough to secure the bun. Just add more as desired or needed.
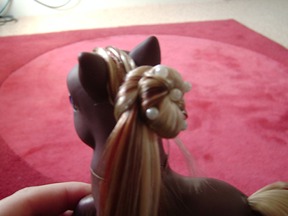
And there you have it – two easy to create hairstyles.
About the Author: Elwythili has been customizing since 2008 and specializes in elegant designs, inspired by nature and the romance of eras past. You can visit her website to see more of her work, which she also offers for sale. Don’t forget to sign her Guestbook!
Website: www.elwythilicustoms.webs.com

