Preparation
Dyeing a pony can be a messy business! So before you even start, it’s imperative that you’re prepared!
Supplies:

You will need some 100% acetone, cotton pads, newspaper, a bowl big enough to submerge a pony (make sure you use a bowl you don’t mind getting stained and above all, one that is heat proof), a mixing tool, Rit Dye, a clean and prepped pony, a kettle full of boiling water and an old towel.
Note: Do not use acetone on a So-Soft pony unless you intend to deflock it.
Cleaning & Prepping Bait:
Your pony needs to be free of hair and any dirt. Preferably, she should also be free of stains since the dye will take to the stain differently and dye it a different color. (Of course, you can always paint a symbol over the stain mark!) Remember – Rit Dye will only take to certain ponies depending on the color. You can only ever dye a pony darker and usually only a similar shade to the base. A white pony can be dyed any color you choose. (Saying that however, you never know what may come from experimentation!)

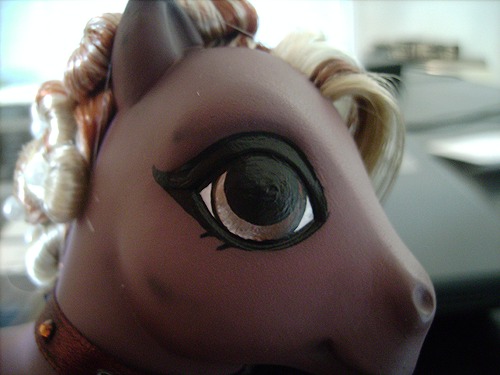
First off, use 100% acetone to remove any dirt/marks/symbols from the pony using a cotton pad. (If you use the original eyes as a template for painting your own, then it’s perfectly okay not to remove them – the dye is unlikely to take to the sealant covering the eyes. But just in case, make sure you paint enough layers of paint on the eyes to avoid any ‘bleeding’ when you repaint.) Then, just to be safe, give the pony a soap bath with warm to hot water. Something you must always be aware of when dyeing a pony is that the dye will not take to any bits of glue still on the plastic, so it is very important that your base is as clean as you can get it.
Mixing the Dye
Make sure you are working in a spacious area. Since you will be using a product that stains easily, you want enough elbow room to make sure there are no spills! A kitchen work surface near a sink is usually best, but ensure that you have laid the area with newspaper before you start – there is nothing worse than finding out you have stained your precious work surfaces and porcelain sink! Rit Dye is designed to stain permanently, so there will be no going back once the damage is done. Also, always keep the old towel handy, just in case.

Get your heat proof plastic bowl and your boiling kettle water. Make sure your water is hot! If the water is warm then the dye won’t take well at all. Basically, the hotter it is, the better result you will get. Pour your boiling water into the bowl.

You don’t actually need a lot of powder to dye a pony – 1 level teaspoon should do the trick. Obviously if you want your pony very dark then you can either add more powder to your mixture or keep the pony in the mixture for longer (or both!) Add the powder to the boiling water and stir thoroughly.

Note – I’m using a plastic bowl simply because it is best to keep your cooking pots clean and because it actually only takes about a minute to dye your pony. However, you can always use a stainless steel pot that you don’t mind using solely for pony-dyeing purposes and keep your boiling water on a low heat while you dye the pony. Choose whatever you find easiest!
Dyeing the Pony
Now that your dye mixture is ready, you can go ahead and add your pony. Make sure the pony is completely submerged during the dyeing process and always carefully stir the mixture with your mixing tool (in this case, a metal spoon – it is your choice as to what tool you use) to ensure that the pony dyes evenly. Generally, the pony only takes about a minute or less to take the color, but if you wish for the pony to dye darker then keep it in for however long you wish. Just keep your water hot!

When you feel your pony is done, take it out and rinse it gently under the warm water tap in your sink. (If it’s a porcelain sink, just keep another bowl full of warm water nearby to dip the pony in.) Use a soft sponge to make sure all of the dye residue has been removed and dry the pony off with the towel.

And there you have it! Now your pony is ready to be rehaired.
About the Author: Elwythili has been customizing since 2008 and specializes in elegant designs, inspired by nature and the romance of eras past. You can visit her website to see more of her work, which she also offers for sale. Don’t forget to sign her Guestbook!
Website: www.elwythilicustoms.webs.com