 Preparation
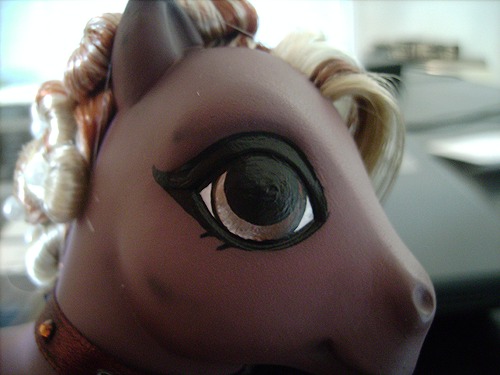
Symbols and eyes are the crowning glory to a custom pony. While a wonderfully rehaired and styled pony is beautiful, it is no where near finished and needs those finishing touches to really make it unique.
Supplies:
- Inspiring Pictures
- Sketch of Design
- Pony for Customizing
- Acrylic Paints
- Gloss Varnish
- Water
- Brushes
- Ink Pen
- Q-Tips (cotton buds)
- Acetone
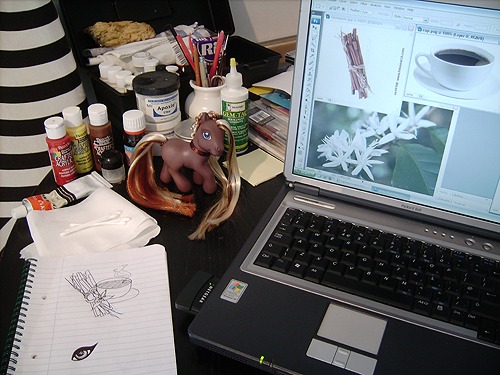
You will need some inspiring pictures, a sketch of your design, a pony, acrylic paints, gloss varnish, water, brushes, tissues, ink pen, pencil, cotton buds and acetone.
The Symbol
First of all, think carefully about what you want your symbol to be. Usually you already know what you want your finished pony to look like and thus have a symbol idea already in mind. But sometimes custom ponies just evolve without you thinking about it! But, if you make the symbol up as you go along you are prone to make mistakes and be disappointed with the overall look – it’s much better to plan!
Find some images of what you generally want your symbol to be like. In this instance, I want to make my custom a coffee themed pony. Now, what is associated with coffee? The possibilities are endless! Well, as a lover of nature I really wanted a flower somewhere in the symbol design, so I found a picture of the coffee plant flower. Then I considered the flavourings that go with coffee – cinnamon seemed the obvious choice, especially since the pony’s hair blend would match it perfectly! And of course, I needed a cup of coffee. 😉 Here are the images I came up with using the Google image search engine:
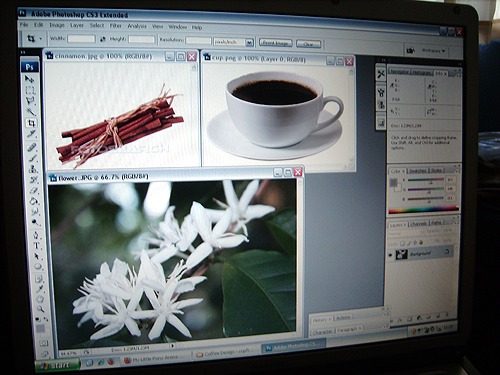
I loved these images and wanted to make them ‘blend’ into the perfect symbol. This is where you actually plan out the symbol itself. It’s important to draw it out a few times just so you are used to the motions of the lines and to make sure that you are completely satisfied with the symbol. This is my result:
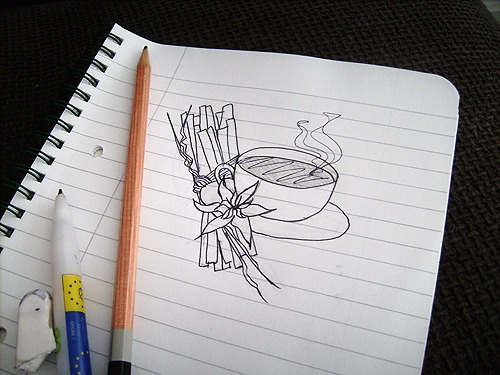
Now that you have your symbol down on paper, you need to transfer it onto the pony! What I find to be the easiest way of doing this is to literally draw the design straight onto the pony. First I use a pencil to lightly draw out the design. When I’m happy with it, I go over those lines carefully with a thin, black ink pen – you will be painting over these lines later so it doesn’t matter if the lines aren’t perfect, but still be careful just in case; you don’t want to make a mess that needs cleaning up with acetone later.
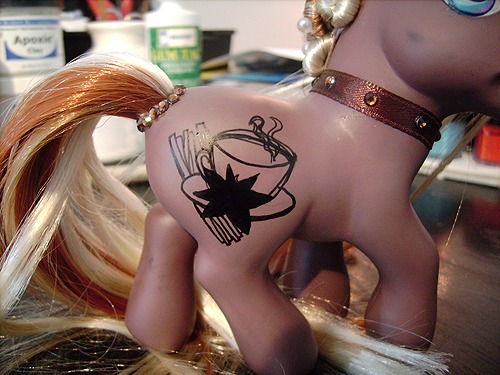
Your pony has it’s symbol lineart in place. All that needs doing now is to paint it! Make sure your sketch and the original image is nearby so you can work from them. I’ll start off with the image at the very back – the cinnamon. Start off with a few thin layers of flat color. This will give you a good base to work from when painting in shadows and highlights.
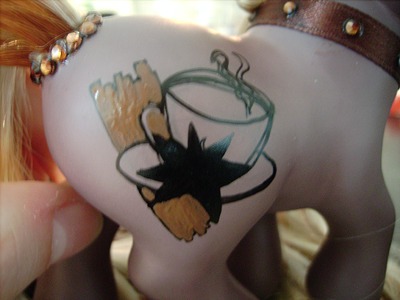
Once you have got a good base coverage, look at your image. Where do the shadows and highlights fall? Basically, all you need to do is copy that image as closely as possible but bear in mind that the other objects in your picture effect the fall of the light too, light that won’t necessarily be present in your original image.
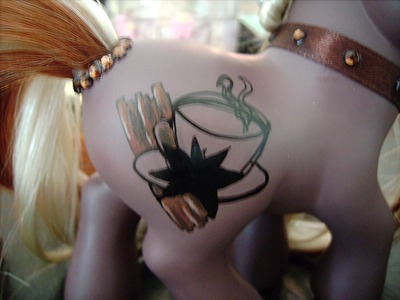
Continue with the same paint method for the rest of the image. (If you make any mistakes, dab away the paint lightly with an acetone soaked cotton bud.)
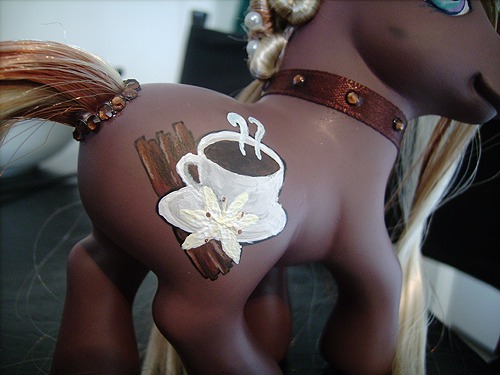
The symbol is nearly finished, but at the moment it lacks that extra definition. This is where your black lines come in. Some people paint these with a very fine and thin paint brush and black paint. However in this instance, I am going to use my pen from before (what you use is personal preference). Whatever you use, draw your lines carefully! This time, you can’t really afford to make mistakes since it means you will have to repaint where you made that mistake – a royal pain! Only put your lines where you think they need to be – the beauty of paint is that a lot of the time, depending on where your painted highlights and shadows fall, you don’t need to define the image with black lines.
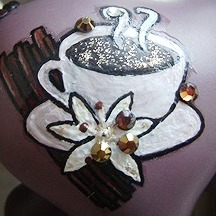
Once you are satisfied, take your gloss varnish. The varnish is your finishing touch and really makes a symbol ‘pop’! You only need about two layers. If you have used a pen make sure to dab your varnish on very lightly over the areas where you have created lines. If you don’t then you are in very great danger of making your lines run. Once it has dried however (wait approximately 15 minutes to be sure), you can then apply a coating of varnish over the whole symbol using nice, smooth brush strokes. (You can also add little crystal embellishments and/or fine glitter to make the symbol especially eye-catching.)
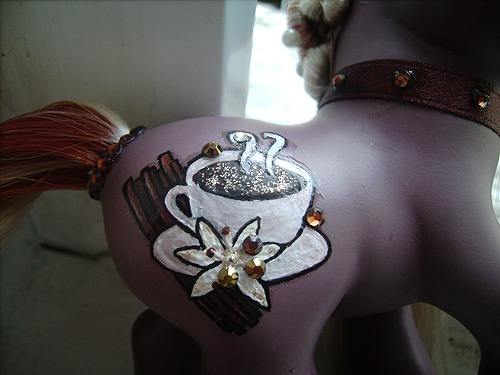
And there we have it! Need to paint eyes?
About the Author: Elwythili has been customizing since 2008 and specializes in elegant designs, inspired by nature and the romance of eras past. You can visit her website to see more of her work, which she also offers for sale. Don’t forget to sign her Guestbook!
Website: www.elwythilicustoms.webs.com


